Making a Flail
Materials you'll need
- One length of 1/2" inner-diameter PVC pipe, about 15", with the edges filed down
- One section of 3/4" PVC pipe, cut to 15", with the edges filed down
- Four more sections of 1/2" PVC pipe insulation (or copper/iron pipe insulation), cut to 9" each
- One length of rope, 1/4"-inch diameter and cut to 9"
- Three square inches of 1/2" EVA (Ethylene Vinyl Acetate), sold under the brand name "Evalite", a fairly stiff yet spongy type of closed-cell foam. You can also use polyolefin instead.
- A black tube sock, about two feet long
- Two pennies
- Duct tape
- Electrical tape
Tools you'll need:
- A saw
- Scissors or an X-acto knife
- A file
Building the Flail
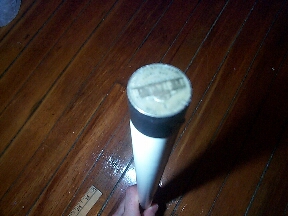
1) First, take the PVC pipe (after having shaved the edges, of course) and tape pennies onto each of the ends. This will help keep the pipe from cutting through the pipe insulation and EVA foam you'll put on later.
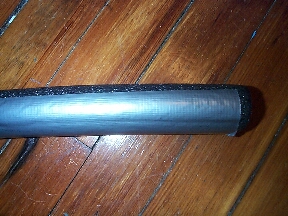
2) Now you'll want to put the pipe insulation on to act as padding. In order to make the fit between 1/2" PVC and 3/4" PVC insulation, you'll probably have to add a couple of strips of tape up and down the length of the pipe.
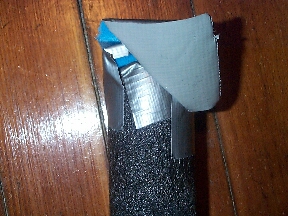
3) Once that's done, take some EVA and cap the ends with about an inch of the stuff. This way if somebody accidentally gets stabbed with the handle (yes, it does happen) the damage done will be minimal. Bruises instead of serious internal hemhorraging, sorta thing.
4) Now it's time to start making the "chain" links. Cut the smaller sections of PVC insulation down to their proper sizes. If you can find it, use the insulation without pipe slits (I've never been able to find any such thing, but I hear tell it exists). Otherwise, put a strip of duct tape over each of the slits.
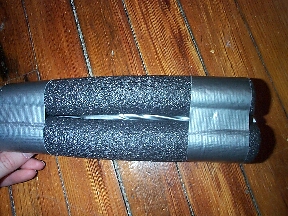
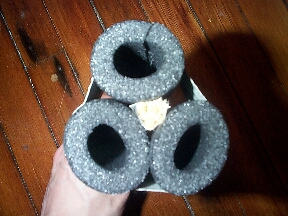
5) To make the head, take three of the short insulation sections and the piece of rope (or braided twine, or whatever you found). Place the PVC insulation in a triangle around the rope and wrap some duct tape around it all. (The rope is there to give the head a little bit of extra weight for effective swinging.) It should end up looking kind of like a grey, foamy Toblerone bar (with a chewy nylon center!)
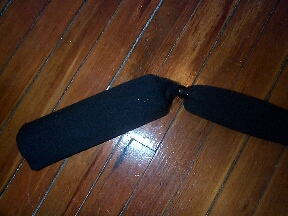
6) Now it's time to start putting it all together. Take the black sock and stretch it around the head you just made. Swing it around a little bit to make sure the head gets all the way to the bottom. Now stick the other piece of insulation in as well.
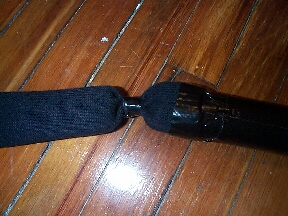
7) Pinch the sock between the head and middle section (leaving maybe a half inch to an inch of sock on each side) and put some electrical tape around it to keep the sections from sliding around too much inside the sock. Put some electrical tape on the other side of the middle section with about the same spacing.
8) Place the opening of the sock around the end of the handle, adjusting it so that it's snug but not ultra-tight. Tape it in place.
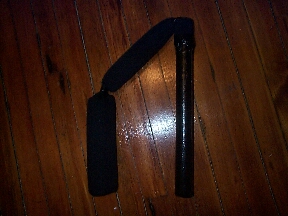
9) Now (at your option, I guess, although I highly recommend it) run black duct tape up and down the entire length of the handle up to (and including) the sock. (Don't forget the tip!) This should make the insulation last a little bit longer and give you a more uniform feel all over the handle. Try not to use too much tape, though, especially where the sock joins the handle--as time goes on, the sock will stretch from all the swinging and you'll have to adjust it!

